Installing a one-hole faucet is a straightforward task that can significantly upgrade the look and functionality of your bathroom, kitchen, or bidet. Whether you’re a DIY enthusiast or a first-timer, this guide will walk you through the process step-by-step.
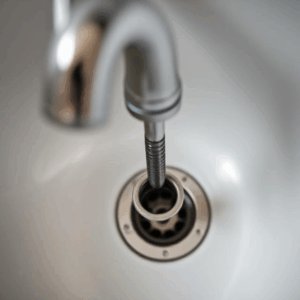
Start by placing the O-ring washer onto the base of the faucet. Insert the faucet through the hole in the sink (or countertop). Ensure the base of the faucet is parallel to the back of the sink. This alignment is essential for aesthetics and proper function.
Use masking tape to mark the alignment for easier adjustments.
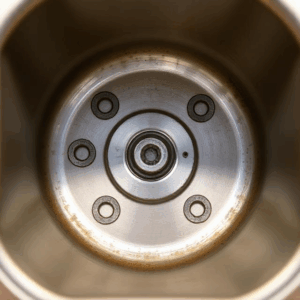
Step 2: Securing the Faucet from Below
From underneath the sink, slide on the semi-circular rubber washer and the metal friction washer. Follow with the mounting nuts onto the faucet shank. Use a basin wrench to tighten the mounting screw.
⚠️Do not overtighten the nuts. It may damage the sink or make future maintenance difficult.
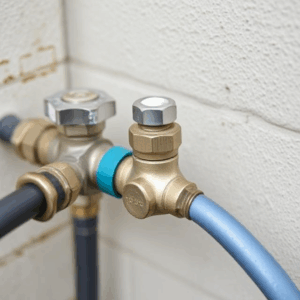
Step 3: Connecting the Water Supply Lines
Attach the water hoses to the faucet shank. Tighten the coupling nuts using a basin wrench. Ensure they are secure but again, avoid over-tightening.
Now connect the other ends of the hoses to the shutoff valves. Start by hand-tightening, then give a quarter-turn more using an adjustable wrench.
While tightening, hold the valve with another wrench to prevent twisting or damaging the pipe.
Step 4: Testing the Faucet
Turn on the water supply at the shutoff valves. Let the water run through the faucet for a minute. Check all connections under the sink for leaks.
Use a dry cloth or paper towel to detect any moisture around joints and nuts.
Applications: Bathroom, Kitchen, and Bidet
The installation steps are universal across bathroom, kitchen, and bidet one-hole faucets. However, here are some use-specific tips:
Bathroom Faucets:
Match the faucet design with your basin for a cohesive look.
Choose a spout height that accommodates your daily usage.
Kitchen Faucets:
Consider faucets with pull-out or pull-down sprayers for added functionality.
Ensure you have enough clearance behind the sink for installation.
Bidet Faucets:
Ensure the faucet offers precise temperature control.
Water pressure should be consistent and leak-free.
Troubleshooting Common Issues
Leaking at Base: Recheck O-ring and mounting nut tension.
Low Water Pressure: Clean or replace the aerator.
Callout Tip: Always keep extra washers and O-rings in your plumbing kit.
Installing a one-hole faucet is a task that blends function and style. With a few essential tools and careful steps, you can enjoy a leak-free, elegant faucet in your bathroom, kitchen, or bidet. Whether you’re upgrading for aesthetics or fixing a faulty fixture, this guide has you covered from start to finish.
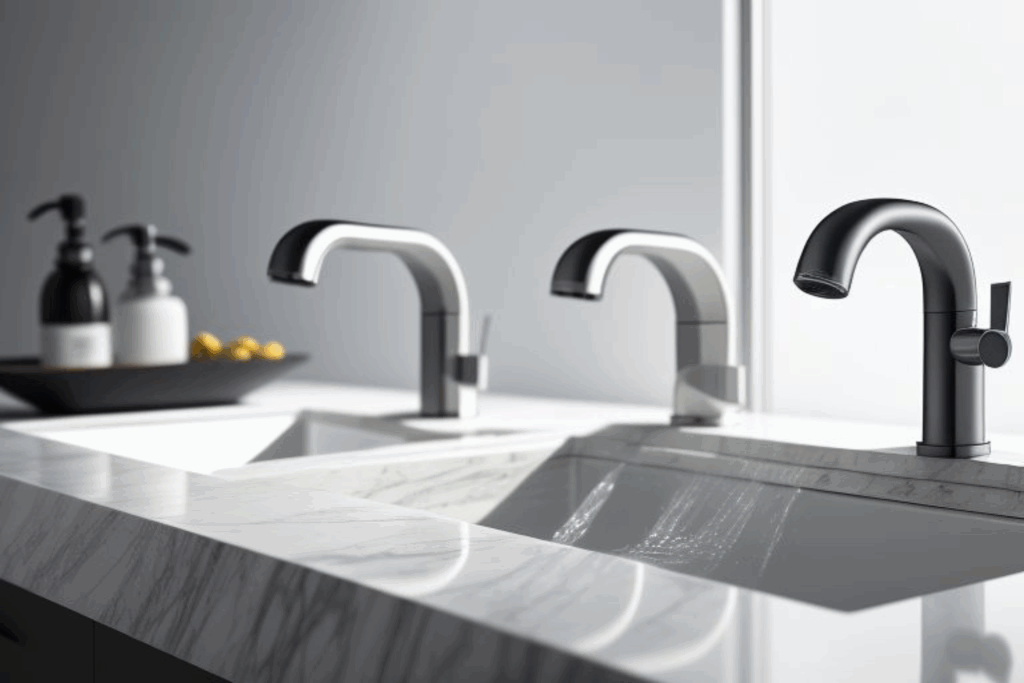
One-hole faucets are a go-to choice for modern homes due to their sleek design and easy installation process. They save space, minimize clutter, and offer a clean, minimalist look. But beyond appearance, a correct installation ensures proper water flow, prevents leaks, and extends the life of your faucet. This guide walks you through everything—from prepping your tools to tightening the final nut—so you can tackle the job like a seasoned pro, even if it’s your first time. Bookmark this guide for future reference or share it with someone taking on a home improvement project.
Need Help? If you’re unsure about a step or face a tricky installation scenario, consult with local plumbers or reach out to our team at Francoware. We’re here to assist you with top-tier sanitary solutions in Nepal.